So, you’ve decided to use WordPress as the content management system for your new ministry website. Now you need to host it somewhere. That means choosing a web host, signing up, and pointing your domain name to your new hosting account. So how do you do all of that? In this article, we’ll look at how to get started hosting your ministry WordPress website with HostGator.

HostGator is a great option as a web host if you need a low-cost option to get started. HostGator is big, has been around a long time, is pretty reliable, offers very cheap hosting and has surprisingly good support for a company of their size.
Of course, cheap isn’t always the best, there are more solid WordPress hosting providers out there with solutions optimised for WordPress performance that will outperform HostGator, but HostGator is an excellent place to start while keeping your costs low. I’ve used them for years for websites that are just starting out and need to keep the costs down.
If you are still deciding whether or not to use WordPress for your non-profit faith-based ministry website, have a look at these articles:
- Why use WordPress for your non-profit faith-based ministry website
- Why WordPress is the best solution for your ministry website
How to sign up for hosting for your Ministry WordPress website with HostGator
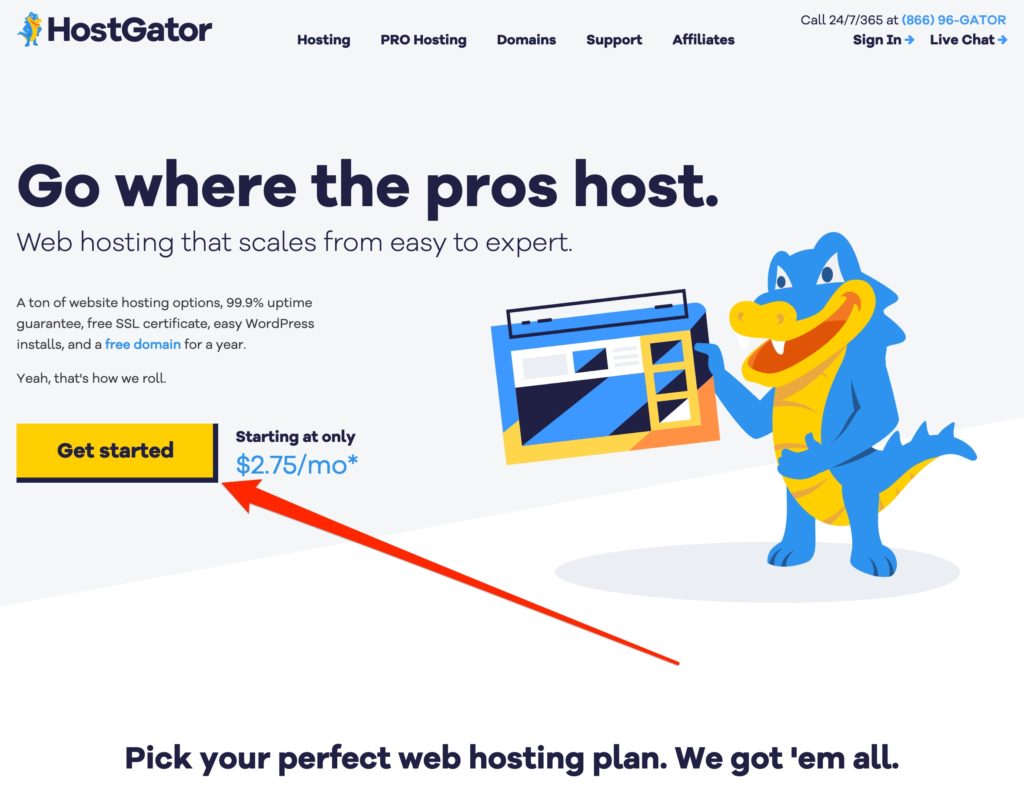
1. Go to the HostGator website and select your plan
First, you’ll need to go to the HostGator website and create an account.
Once you’re there, click on the ‘Get Started’ button at the top of the page and then select the ‘Hatchling Plan’ by clicking the ‘Buy Now’ button below it.
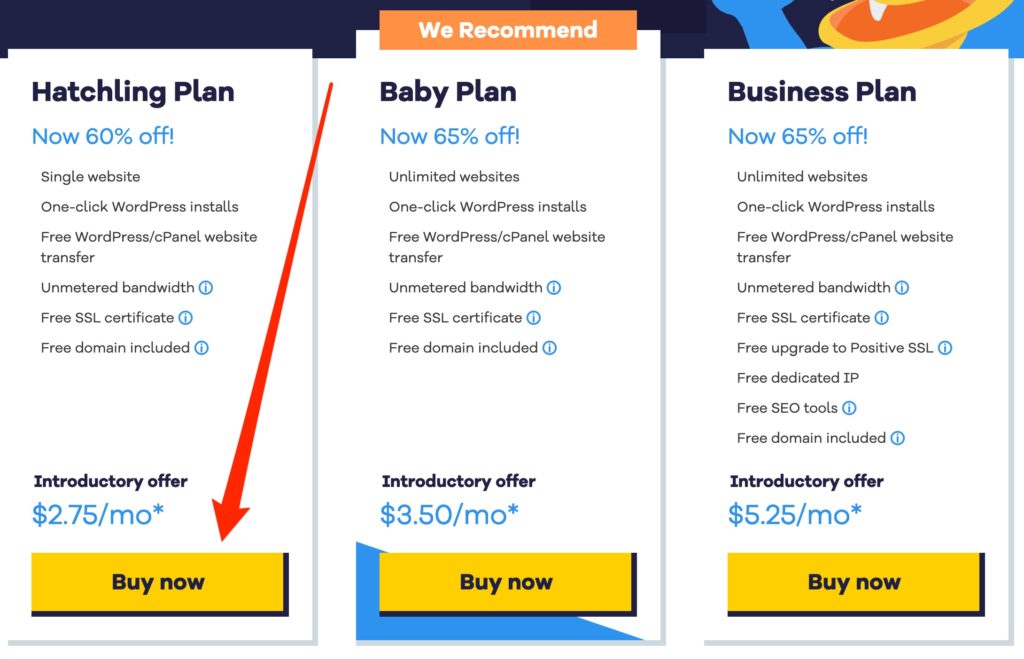
This is their most basic hosting plan and will be perfect for your ministry website while it is just starting out and has low traffic requirements. If you have more than one domain you want to host right from the start though then go for the ‘Baby Plan’ as it will let you host unlimited domains.
Often there is a promo offer to make your first bill only a couple of dollars, but you can usually get a better offer using our HostGator coupon code for up to 65% off hosting and free domain registration:
HostGator Coupon Code: MINISTRYLAUNCHPAD
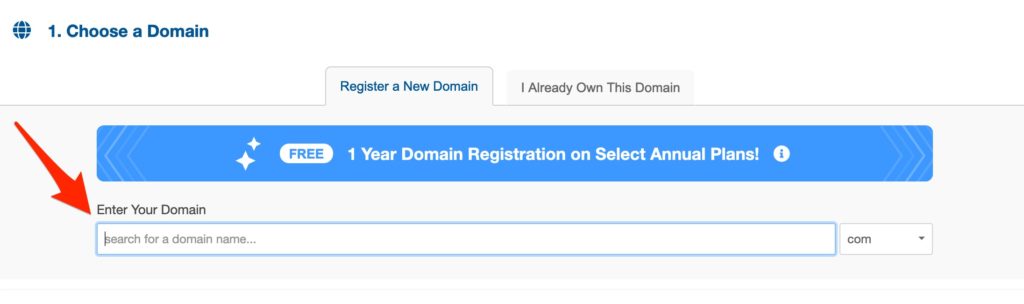
2. Enter your existing or desired domain name
Once you’ve selected the Hatchling Plan, you will need to enter your domain name – the address where your website will be found. If you already own this domain name click the ‘I already own this domain’ tab. If not, you can register the domain name through Hostgator with 1-year of free registration using the ‘Register a new domain’ tab.
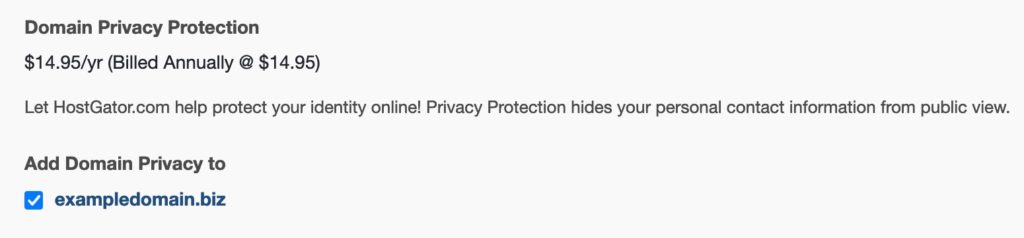
If you register a new domain, I recommend paying a little extra for domain privacy protection. This hides your registration details. If you don’t do this your phone number and address are publicly available and you will start getting phone calls and letters from various people trying to sell you things and some that are trying to scam you as well. It’s a pain and easier to just avoid from the outset by spending a few extra dollars on domain privacy.
3. Confirm your billing cycle
By default, Hostgator will select the longest billing cycle. Usually, 3 years. Change it if you don’t want to pre-pay for that length of time. Take note of what the renewal price will be (shown just below the current price) as any discounts will only apply to your first payment.

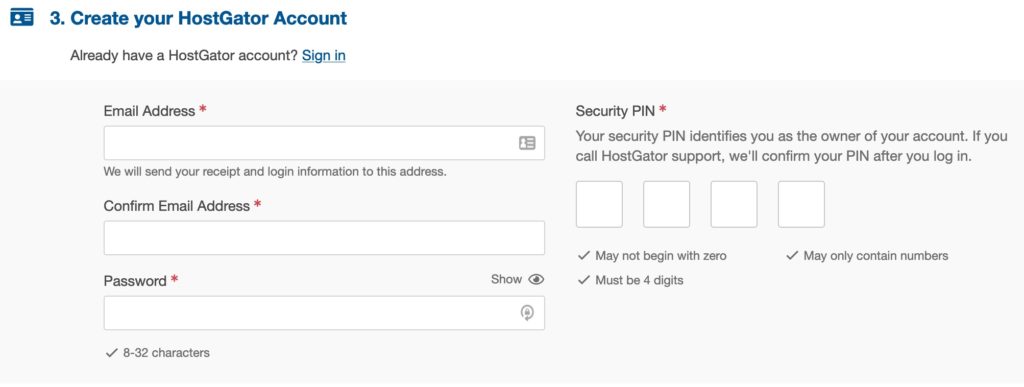
4. Enter your desired account login details
This is your email address, desired password and a 4 digit security pin number which is required for support requests.
5. Fill out your billing information
Next, enter all of your billing information into the form and then select your payment method. As HostGator bills in USD, if you are not based in the USA, I recommend using a credit or debit card that is either denominated in USD or that doesn’t have any foreign transaction fees.
I highly recommend Airwallex (Australian customers only at this stage) and Wise (available in most countries) as great options to save on foreign transactions. Alternatively, you can use PayPal but I always have issues with them (don’t get me started…) so I’d definitely go with Airwallex or Wise instead.
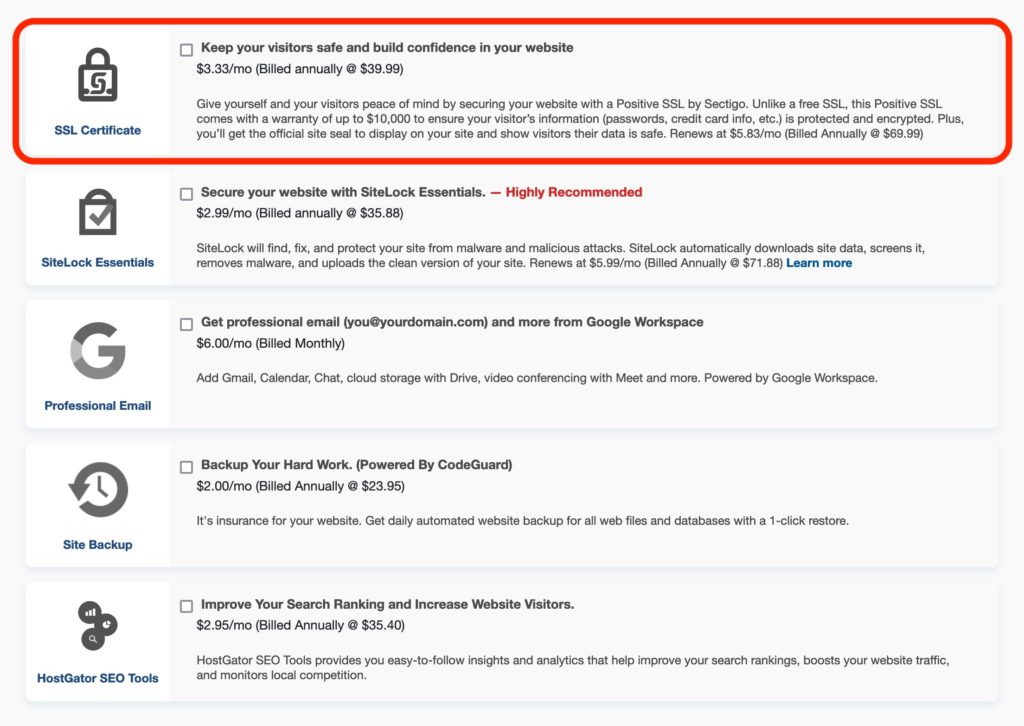
6. Choose any additional services
If you are planning to process donations through your website, I would suggest paying for the upgraded SSL certificate. Otherwise, you probably don’t need any of these other add-ons at this stage.
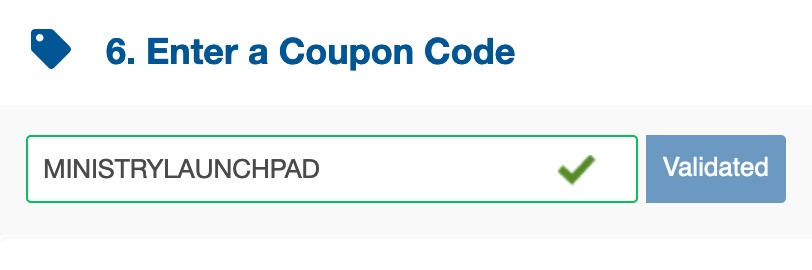
7. Enter our HostGator Coupon Code for up to 65% off
Once you get to the coupon code box, you can get up to 65% off hosting and a free domain registration when you enter our HostGator coupon code:
HostGator Coupon Code: MINISTRYLAUNCHPAD
8. Complete the checkout
Review your order, accept the terms and conditions, and then click on the ‘Checkout Now!’ button to place your order.
You should then be directed to the billing portal and you will also receive confirmation emails with information on accessing your hosting control panel and your billing portal.
If you are using an existing domain that has been registered through a different provider like Crazy Domains or GoDaddy, you will need to update your DNS records with them to point the domain to your new Hostgator hosting account. HostGator will provide the necessary information for this update. If you registered a new domain through HostGator, they will set this up for you.
Installing WordPress on HostGator
Now that you have your hosting account set up, it’s time to install WordPress. This is a very easy process and I’ll walk you through the steps below.
1. Login to your HostGator cPanel
First, log in to your HostGator control panel by going to the link provided in the email when you completed your signup.
It will look something like either domainname.com/cpanel (replacing ‘domainname.com’ with your actual domain name), or a HostGator sub-domain like gator1234.hostgator.com:2083
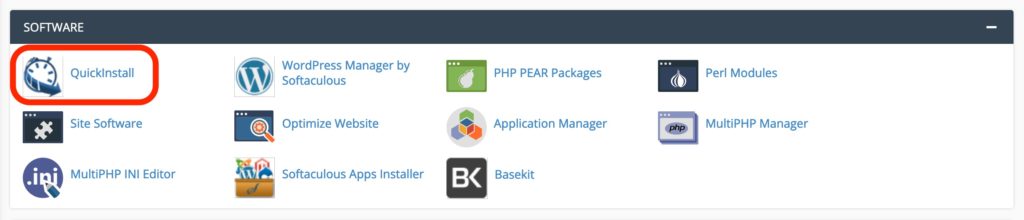
2. Install WordPress with QuickInstall
Once logged in, scroll down to the ‘Software’ section and click on the ‘QuickInstall’ icon as shown in the screenshot below:
The QuickInstall app will open and from here you can select the WordPress option as shown in the screenshot below:
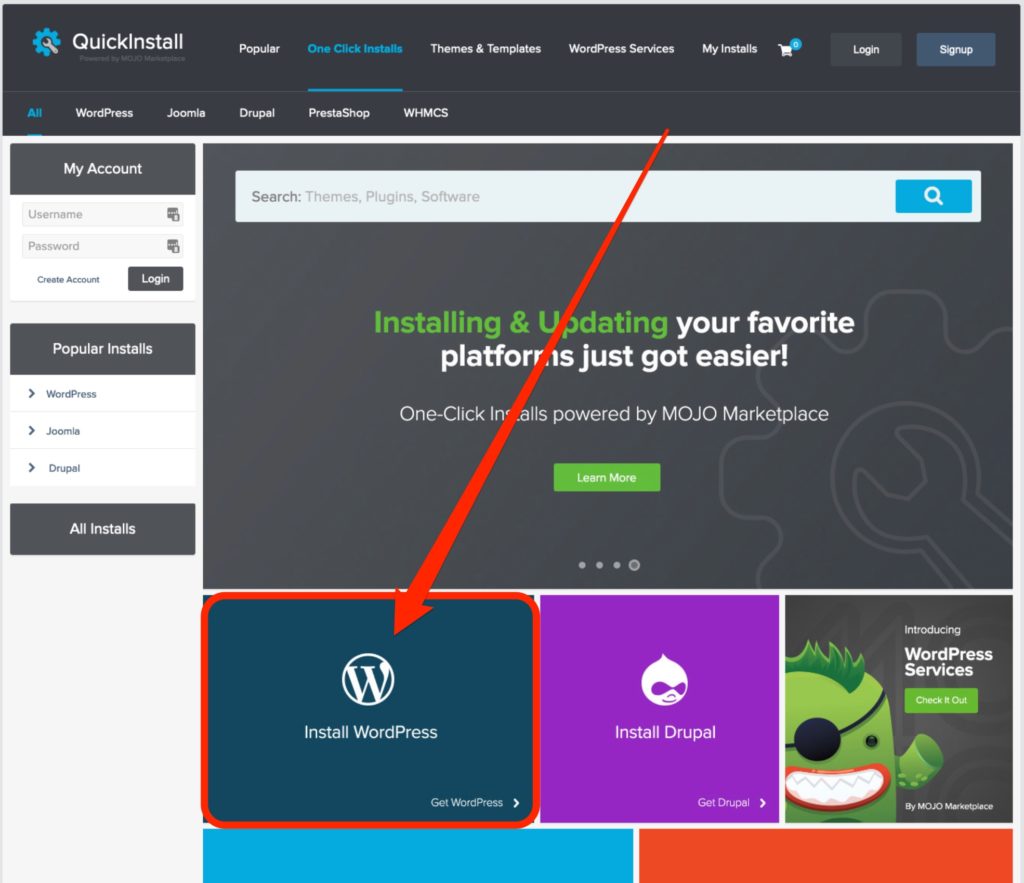
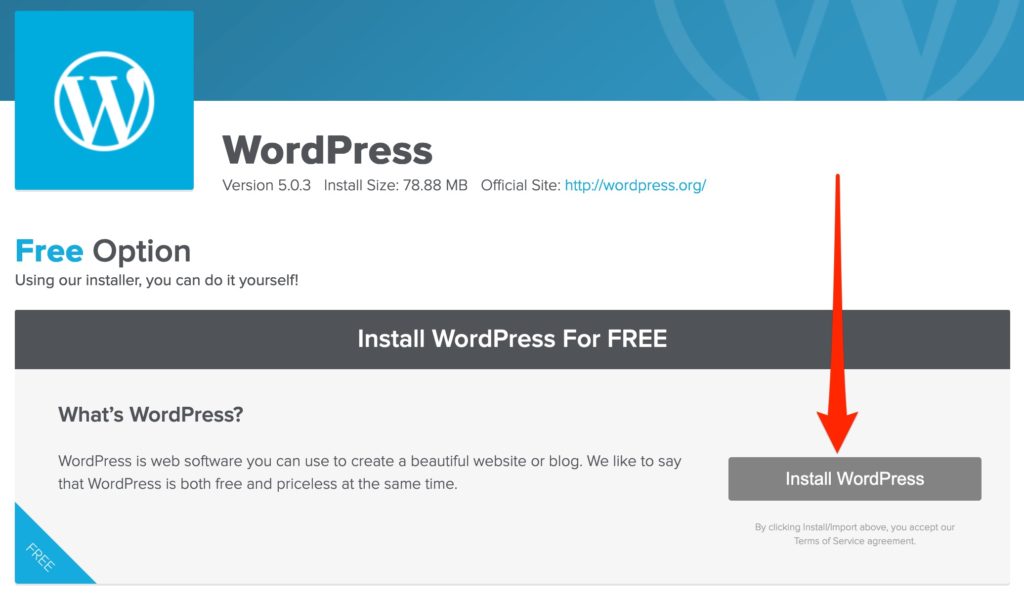
Select the option to ‘Install WordPress for Free. Don’t choose any of the paid options.
3. Set your basic site settings
Choose your domain from the drop-down list and enter your basic site settings. Ignore the ‘install/path/here’ field. For your admin user, make sure to use something unusual. To help reduce the risk of hacking, don’t use admin or root as your admin username.
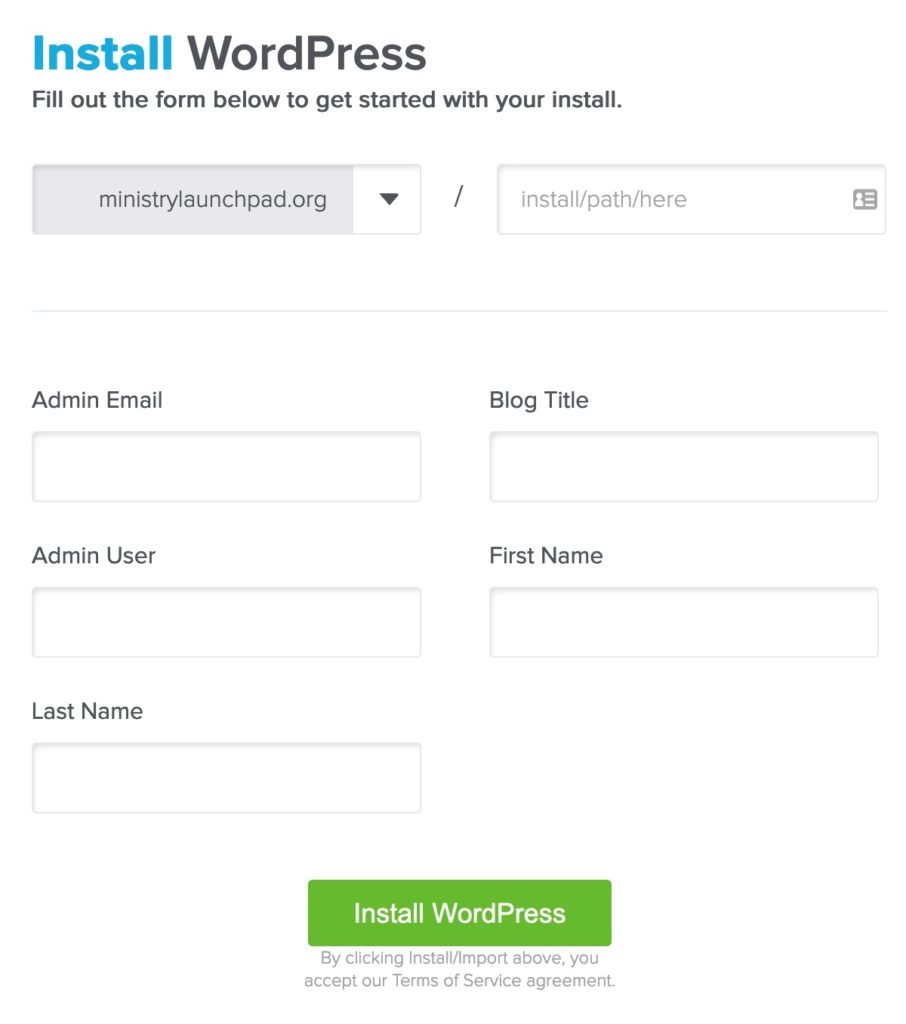
Once you’ve entered these details, click the ‘Install WordPress’ button.
4. Save your username and password
The QuickInstall app will send you an email with your WordPress login details. Make sure to save these somewhere safe. You can update your password later on if you wish. Now, you can login by going to the WordPress login button shown at the end of the QuickInstall WordPress installer.
You can also login to your WordPress admin area by going to the domain name in your browser that you chose in the installer followed by /wp-admin. For example, if you chose example.com as your website address then you would go to: example.com/wp-admin
Congratulations on your new WordPress website!
You have successfully installed your WordPress website on HostGator using the QuickInstall app. You can now start customising WordPress and adding content for your new ministry website! We’ll look at customisation in our next articles!